Choosing a custom pergola in San Diego starts with the site, not a catalog photo. The right plan connects material, shade, footings, and permit questions before construction begins. That keeps the finished structure tied to how you’ll use the yard.
Choose the structure before the finish
Decide whether the pergola will attach to the house or stand independently. An attached concept includes a connection to the home. A freestanding concept relies on its own posts and supports.
That choice changes the questions a builder must answer. Ask for a drawing that identifies every post, beam, rafter, and connection. For an attached design, the drawing should also identify the existing wall assembly. For a freestanding design, it should show the complete support layout.
Don’t treat “freestanding” as another word for “permit-free.” California Residential Code Section 105.2 exempts certain one-story detached accessory structures when their floor area doesn’t exceed 120 square feet. However, the state language doesn’t settle whether every open-roof pergola qualifies. The local building department makes that determination.
A building permit exemption doesn’t erase other requirements. Setbacks, easements, height limits, and lot coverage may still affect placement. Electrical, plumbing, and mechanical work also require separate permit review.
For property within the City of San Diego, confirm the current interpretation with Development Services. Elsewhere, contact the authority governing the project address. Our guide to pergola and patio-cover permits explains why the answer can change by jurisdiction.
When a permit is required, the independent crew matched to the project pulls it in its own name and schedules inspections.
Compare materials by the exact product
Redwood, cedar, Douglas fir, aluminum, and vinyl can all appear in pergola proposals. The material name alone doesn’t establish how the finished structure will perform at your address.
We couldn’t confirm one countywide source that ranks those materials for coastal fog, salt exposure, or inland heat. Product formulations, grades, finishes, fasteners, and maintenance instructions vary. Ask the builder and supplier for documentation covering the exact product in the proposal.
For redwood or cedar, request the species, grade, finish system, and care instructions. A Douglas fir proposal should also identify its grade and exterior-use treatment. Don’t accept “natural wood” as the full specification.
For aluminum, ask for the product line, coating system, finish color, connection hardware, and manufacturer installation instructions. For vinyl, request the product line, any internal reinforcement, approved fasteners, and published exposure limits. Generic claims about “maintenance-free” materials don’t replace those documents.
Site conditions belong in this conversation. If the property receives regular marine fog or salt exposure, ask how the selected finish and hardware address it. Our guide to decking near coastal salt air shows the same product-specific approach.
For an inland project, heat exposure may lead to different product questions. If the property is in Valley Center, start with our Valley Center service page and share the project address. The matched pro can then review the actual site instead of applying a coastal recommendation countywide.
Design shade for the hour you need it
A pergola can look balanced in a photograph and still miss the desired seating area at 2 p.m. Treat shade as a design target, not a side effect of attractive rafters.
Start by defining what “shade percentage” means in the proposal. It might refer to overhead slat coverage, the projected shadow, or the patio area shaded at a chosen time. Ask the designer to label the measurement rather than leaving the term open to interpretation.
Next, identify where shade matters. Mark the dining table, cooking area, doorway, lounge seating, or walkway on the plan. Add the months and clock times when each zone gets used. A rendering should show those zones, not just the pergola from an appealing camera angle.
Rafter direction and spacing should appear on the drawing. Don’t approve them from a sample photo alone. Ask the builder to show how the proposed layout affects the marked areas at your requested times. If adjustable louvers are being considered, request the manufacturer’s operating limits and installation requirements for that exact system.
There isn’t one verified spacing or shade percentage that fits every San Diego yard. Building orientation, pergola position, height, and the requested shade window all change the design problem. A useful proposal makes those inputs visible and explains what was selected.
Our pergola and shade-structure service can connect you with a local pro who can turn those priorities into a site-specific plan.
Make the footing and connection plan visible
A custom proposal should show how every post reaches its support. It should also identify the connections between posts, beams, rafters, and any ledger.
California construction guidance published by Contra Costa County gives a useful starting point, though it doesn’t decide what a San Diego jurisdiction will approve. That building-department handout calls for at least 6 feet 8 inches between pergola beams and the slab.
The same guidance calls for positive connections from headers to posts, headers to rafters, and rafters to ledgers. It also requires lateral support at rafter ends and supports. Solid blocking is one listed method, except where rafter ends are face-nailed to a header or rim joist. Lateral bracing can come from embedded posts, knee braces, or another approved method.
Its general footing guidance describes posts supported by a slab at least 3 1/2 inches thick or spread footings measuring 12 inches in each direction. Posts placed in earth need 6 inches of gravel at their bases. Those posts must use pressure-treated or naturally decay-resistant wood. Untreated posts must rest on piers or metal pedestals at least 1 inch above the slab.
These figures are general California guidance, not approval for a specific San Diego property. Ask the matched pro to identify the local authority, site assumptions, and required footing detail. The final plan should make each connection inspectable before work begins.
Treat the house connection as its own detail
“Attached to the stucco” isn’t a complete construction detail. Stucco describes the visible finish, but it doesn’t identify the full wall assembly or the planned structural connection.
We couldn’t confirm one flashing or ledger detail approved for every San Diego home. The correct approach depends on the property and the connection being proposed. Ask for a detail that identifies the wall layers, attachment location, flashing, fasteners, and water-management transition.
The proposal should also explain how the builder will verify conditions hidden behind the finish. If exploratory work may be needed, that scope should be clear before the final attachment method is accepted. Don’t rely on a rendering that hides the wall connection behind trim.
Ask the pro to separate three decisions. First, what supports the pergola’s load? Second, how will the opening through the exterior finish be managed? Third, how will the completed connection remain available for required inspection?
If those answers can’t be documented, compare a freestanding layout. That option still needs its own footing, bracing, zoning, and permit review. It simply changes the structural concept.
The local professional should confirm the attachment detail with the governing building department. You can also check the contractor through the CSLB license lookup. Deck Pro SD is a referral service, so the homeowner contracts and pays the independent professional directly.
Match the style to how the yard works
Start with the activities the pergola needs to support. A simple shade frame may suit seating or a dining table. A larger outdoor-room concept may include built-ins, lighting, fans, heaters, or plumbing.
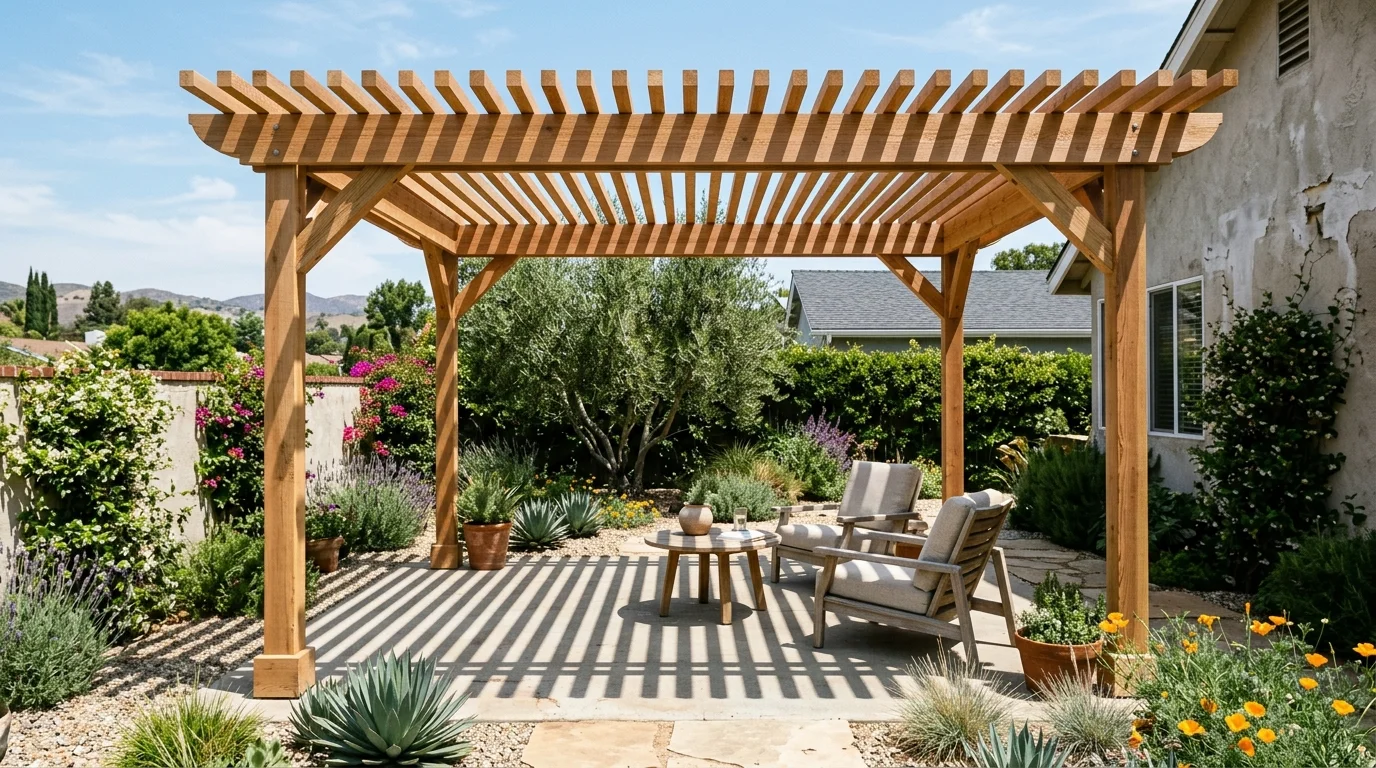
An open-rafter wood design puts the framing pattern on display. Ask for the exact species, grade, finish, rafter layout, and connection hardware. A metal or vinyl system should come with equally specific product documentation. The style name isn’t a substitute for those details.
Adjustable-louver systems need their own product review. Request the manufacturer’s installation requirements and operating limits. If the system includes powered controls, lighting, fans, or heaters, confirm the separate electrical or mechanical permit scope. Structural permit status doesn’t remove those trade-permit requirements.
Built-in seating, counters, planters, or privacy panels should appear on the same site plan. Our custom built-ins service can be considered alongside the pergola instead of after its posts are placed. That helps the designer see where circulation, seating, and support locations may compete.
Keep the style grounded in the actual yard. Mark doors, windows, paths, seating, and property constraints before comparing finishes. For a coastal property, request documentation addressing the site’s exposure. For an inland property, ask the supplier to address the conditions at that address.
The best style is the one supported by a clear drawing and exact product information. It should also answer the local permit question before materials are ordered.
When to call us
Call when the plan includes structural attachment, footings, electrical or plumbing work, or a permit question affecting the design. Deck Pro SD is a referral service, and the pros we connect you with are licensed and insured. Call us at (858) 400-4918, leave a message, and we’ll connect you with a licensed local deck builder.